ChromeOS is not merely a simplified operating system. ChromeOS is also a relatively secure operating system — thanks to its multiple layers of protection for preventing things like viruses and malware from harming your device and accessing your data.
Can you improve upon ChromeOS’s already impressive default settings? You sure can! I’ve identified five settings you can work with to take ChromeOS to even higher levels of security.
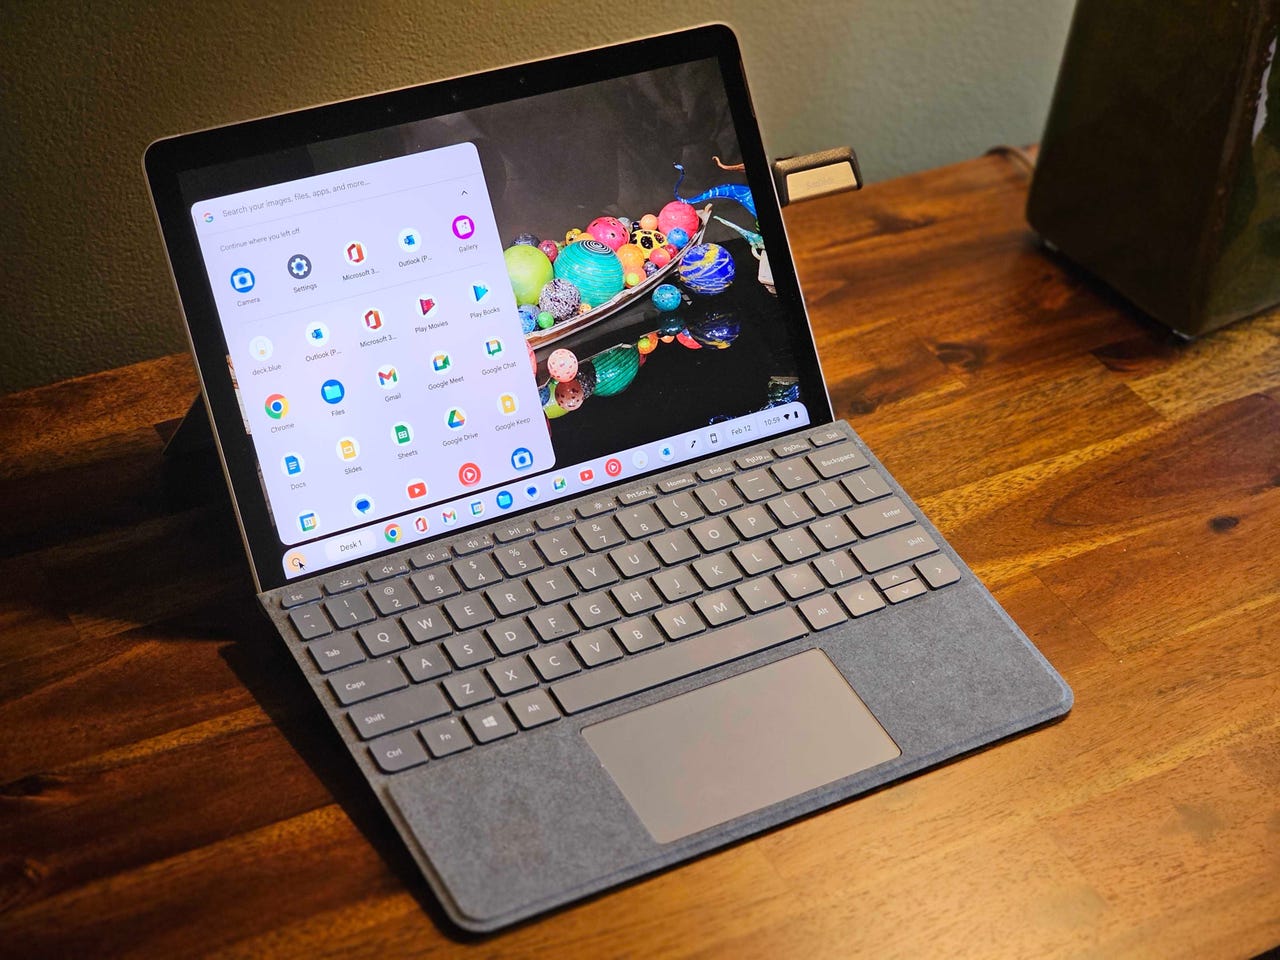
Also: Google might abandon ChromeOS Flex. Here’s why – and what you can do about it
Let’s dive in.
1. 2-step verification
This is an essential security move, whether or not you use ChromeOS. Two-step verification (aka 2FA) adds yet another layer of security to the login process of online accounts. When 2FA is added to a Google account, it requires a mobile device associated with your Google account to serve as the 2FA authentication mechanism.
However, there’s a trick to using this on a Chromebook. First, make sure you’ve enabled 2FA on your Google account. Then open Settings on your Chromebook and go to Privacy And Security > Manage Other People. On that page, disable the “Show usernames and photos on the sign-in screen” option. Once you’ve done that, reboot the device and you should be required to use 2FA to log in.
Make sure to log out or reboot after enabling this setting.
Jack Wallen/ZDNET
2. Disable the camera and mic for specific apps
Not every application should have access to your device’s camera and microphone. Let’s say you install a basic game on ChromeOS (one that doesn’t include multiplayer) and, by default, it enables access to the camera or the mic — or both. You might have unwittingly installed an app that can use either your camera or mic to spy on you. (I’d be immediately suspicious of any app that didn’t need access to the camera or mic yet was installed with either feature enabled.)
Fortunately, ChromeOS makes it possible to enable/disable access to either piece of hardware. To do that, open Settings and go to Privacy And Security > Privacy Controls. From that page, you’ll see the Camera Access and Microphone Access options. Click on either one, scroll through the list of apps, and disable access for any app that shouldn’t need to use the feature.
Make sure to go through the lists for both camera and mic.
Jack Wallen/ZDNET
3. Use a secure connection to look up sites
I enable this feature for every Chromebook that I — or my friends and family — use. With this feature, you can set ChromeOS to use DNS over HTTPS– which encrypts all of your DNS activity (such as searches) so no one can spy on you.
Also: 5 things ChromeOS needs to rival MacOS
To enable this feature, go to Settings > Privacy and Security. Near the bottom of that page, enable “Use secure connection to look up sites.” Once you’ve done that, you’ll need to select a DNS provider that uses DNS over HTTPS. I recommend Cloudflare (as their service doesn’t slow down searches as much as others). To learn more about using DNS over HTTPS, check out How to configure specific DNS servers on your Chromebook (and why you should).
Cloudflare has been the best DNS over HTTPS service I’ve used.
Jack Wallen/ZDNET
4. Customize sync
Out of the box, ChromeOS — and the Chrome browser — will sync everything to your Google account, so that any browser or Chromebook you have associated with your account can use the same data. (The ChromeOS sync options differ from the Chrome browser sync options, which enable you to sync cookies, passwords, tabs, apps, bookmarks, extensions, history, settings, themes, reading lists, open tabs, and more.)
Also: ChromeOS finally steals a faster multitasking feature from Windows and MacOS
With ChromeOS sync, you get only four options to enable or disable: apps, settings, Wi-Fi networks, and wallpaper. I disable all four because I don’t want any of those settings — especially Wi-Fi networks — winding up in the wrong hands.
To customize your sync, go to ChromeOS Settings > Privacy and Security > Sync and Google Services > Manage what you sync. Click Customize Sync and then disable the options you feel necessary.
For heightened security, you might not want to sync all of your data across devices.
Jack Wallen/ZDNET
5. Guest browsing
There are times I have house guests who’ll need to use a laptop to browse — but who don’t use ChromeOS. Although I’m happy to let them use a Chromebook, I do not want to simply hand over my laptop and let them use my account. Instead, I use guest browsing — aka guest mode — a special, minimal) account with zero access to my data — it’s nothing more than a web browser that doesn’t save data from login to login.
Also: 5 ways to improve your Chrome browser’s security (and why you should)
To enable guest browsing, go to Settings > Privacy and Security > Manage Other People. On that page, enable “Guest browsing.”
Guest browsing can prevent others from accessing things like your passwords.
Jack Wallen/ZDNET
Once you’ve taken care of these settings, ChromeOS will be a bit more secure. Do remember, however, that you should also do a bit of work on your Chrome browser to ensure it’s as secure as possible.


