My MacOS desktop with Bartender 5 keeping the Menu Bar neat and elegant. Jack Wallen/ZDNET
I much prefer a clean, minimalist workspace. I don’t want desktop launchers cluttering up my field, and too many icons in panels can lead to a bit of crowded confusion. Unfortunately, some apps require the use of Menu Bar icons for interactive drop-down menus. But the more of those apps that find their way to my Menu Bar, the less I like my desktop.
Also: Upgrading to MacOS Sonoma? Do these 7 things first
Thankfully, there’s an app called Bartender that helps to keep your Menu Bar clean and tidy. With Bartender 5 (which supports both Intel- and Apple Silicon-based Macs), you gain the ability to auto-hide your Menu Bar icons, load them into a Bartender Bar, group Menu Bar entries, create presets and triggers, use a Quick Search, and even style the Menu Bar in ways Apple doesn’t offer.
So, if you’re a fan of keeping your MacOS desktop neat and tidy, this app might be just the thing for you. Bartender 5 offers a 4-week unrestricted free trial. Once the trial ends, you can purchase Bartender 5 for a one-time fee of $16.00.
Also: How to create a web app in MacOS Sonoma (and why)
Let’s find out how to install and use Bartender 5.
How to install and use Bartender 5
What you’ll need: For Bartender 5, you’ll need a MacOS device running Sonoma. I’ll demonstrate this on an Apple Silicon MacBook Pro.
You won’t find Bartender 5 in the Apple App Store. Instead, open your default web browser, head over to the Bartender 5 site, and download the installer file.
Double-click (or tap) on the downloaded file. When Finder opens, drag the Bartender icon to the Applications folder to install it. Once the installation is completed, you can eject the Bartender installer.
Installing Bartender 5 is as simple as dragging the icon to the Applications folder. Screenshot by Jack Wallen/ZDNET
Click to open Launchpad. Locate the Bartender 5 icon and tap it to launch the application. You’ll be prompted to allow the app to run, so tap Open in the pop-up window.
To finish the installation, click Open. Screenshot by Jack Wallen/ZDNET
You will then be greeted by a welcome wizard. Click Next and then you’ll see a Permissions page, where you must give Bartender 5 Accessibility and Screen Recording permissions. First, click Open MacOS Accessibility Settings and grant access to the app. Then, click Open MacOS Screen Recording Settings and grant that particular access. You will then be prompted to quit and re-open Bartender 5.
You must give the proper permissions before Bartender 5 will work. Screenshot by Jack Wallen/ZDNET
When you re-open, you’ll be greeted by a prompt to open the Settings window. Do that and you can then configure Bartender 5 exactly how you like it. I would suggest (at a minimum) that you enable Bartender to run at start and Hover over empty menu bar space. With those two settings enabled, Bartender will launch when you log in and to reveal your hidden launchers, all you have to do is hover your cursor anywhere in the Menu Bar from the center to the right side.
There are plenty of configurations to be found within Bartender 5. Screenshot by Jack Wallen/ZDNET
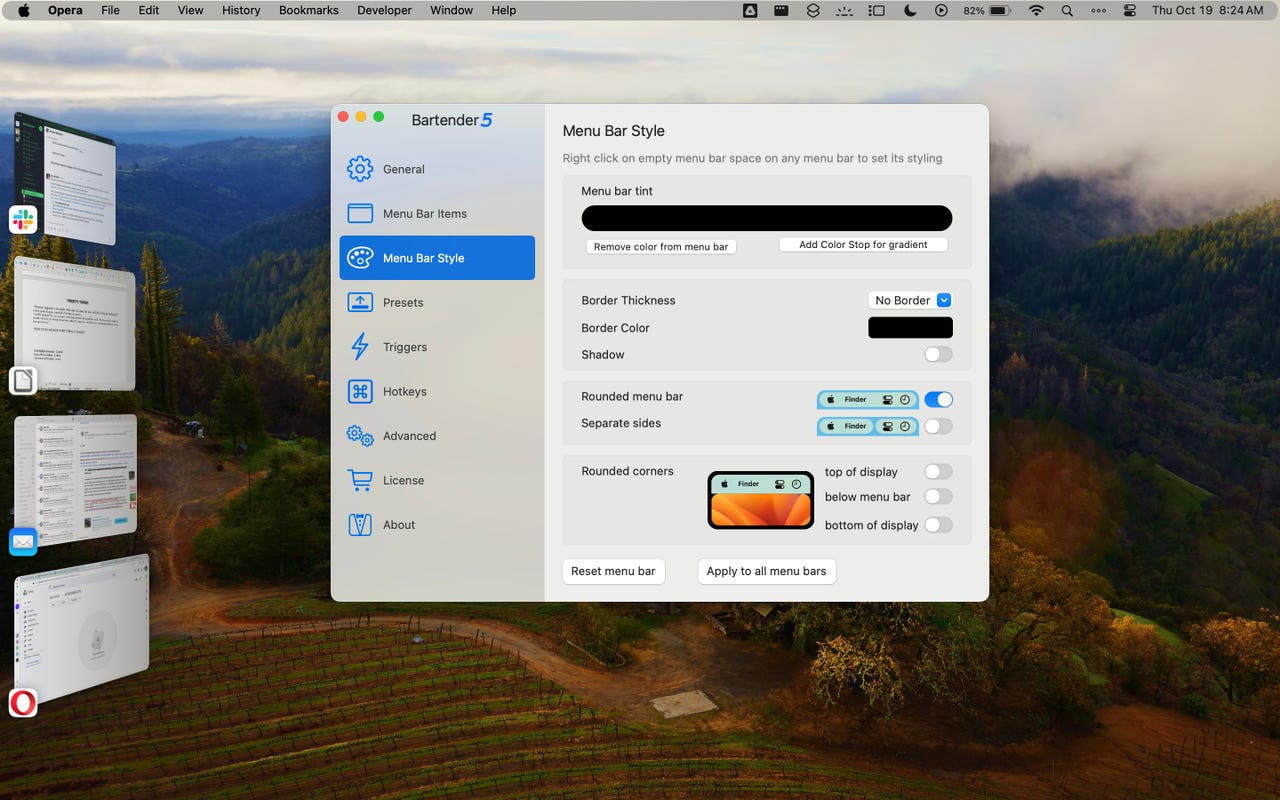
In the Menu Bar Style section, you can add a color to the Menu Bar, round its corners, and even separate it into a left and right side. I’ve added a color and rounded the corners of mine and it looks pretty sharp.
The Menu Bar Style section allows you to configure the look and feel of your MacOS Menu Bar. Screenshot by Jack Wallen/ZDNET
Also: How to optimize storage on your MacOS device
There are plenty more options to be found in Bartender 5, and I’ll write more in-depth how-tos to cover some of the aspects of this must-have app for anyone who likes a clean and stylish MacOS desktop. I’m confident that once you start using Bartender 5, you’ll pay up for the full version (after the trial expires).
ZDNET Recommends


