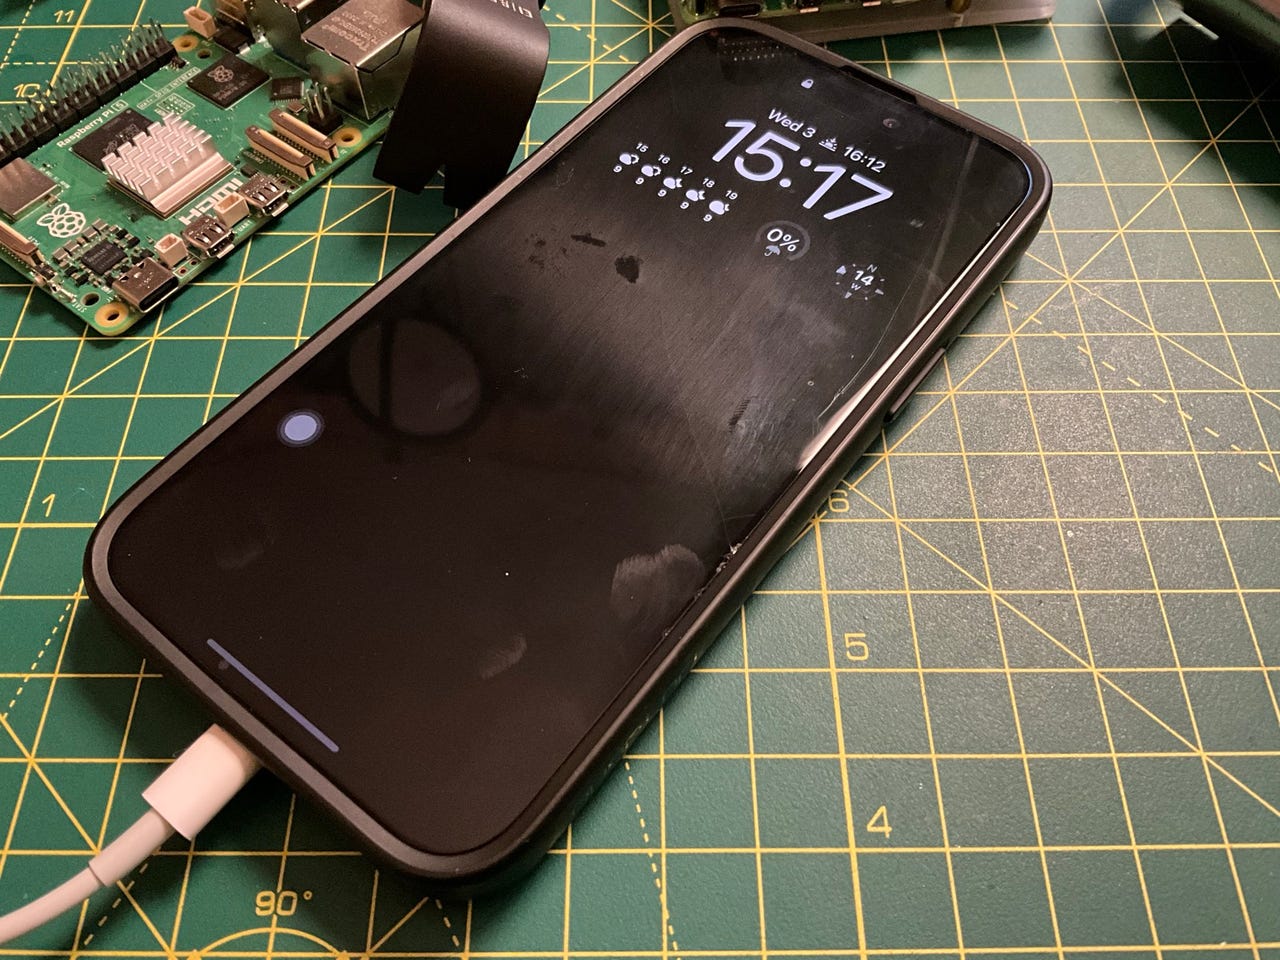
A moment’s silence for a screen protector that did it’s job. Adrian Kingsley-Hughes/ZDNET
My devices have a hard life, and probably no device has as tough a time as my iPhone. This thing has been dropped more times than I can remember, but the other day it took a rather nasty fall onto rocks, and a screen protector that’s been fitted for almost a year finally broke.
The iPhone survived unscathed, but the screen protector was badly cracked. It was time to replace it.
Also: Is your iPhone not connecting to cellular after installing iOS 17.2.1? This might help
I thought this was a good opportunity to test new screen protectors that make it simple to fit a screen. These screens not only make aligning the screen protector easy, but also eliminate the problem of dirt and dust being trapped underneath during the process.
First off, let me answer a question I get asked a lot — is a screen protector still necessary?
Also: 5 quick tips to strengthen your Android phone security today
Yes, I think it is. I see smartphones covered in scratches and chips, and broken displays are commonplace. While a screen protector won’t make your display invulnerable to damage, it helps shed off some nasty impacts that might otherwise harm the screen.
So, I think screen protectors are still worth fitting. And as it happens, I have a number of protectors that are supposed to be easy to fit.
The good news is that not only do these screen protectors align perfectly and go on without having ugly trapped air bubbles present, but they also have a ‘dust elimination’ feature that means the display is cleaned immediately before application, so no unsightly dust is sandwiched between the display and the screen protector.
Also: My search for the best cheap Android tablet is over
What’s more, after testing several screen protector kits, I have to say that they are so easy to fit that I could do the task with my eyes closed. I’ve tested kits for the iPhone 14, iPhone 15, and even earlier iPhones, such as the iPhone 11 and X.
The application process is simple. I begin by removing my iPhone from its case, removing the broken screen protector, and giving the device a clean with a few alcohol wipes. Many kits come with a wipe, but I like to start by giving the while smartphone a wipe to get all the grime off.
Giving the iPhone a clean before applying the new screen protector. Adrian Kingsley-Hughes/ZDNET
Next, I take the screen protector kit out of the box and have a quick read of the instructions.
New screen protector kit. Adrian Kingsley-Hughes/ZDNET
This kit even came with protectors for the camera lenses.
This is a comprehensive kit. Adrian Kingsley-Hughes/ZDNET
I pop the iPhone in the supplied frame, and give the screen a final quick wipe, giving the alcohol a moment to dry off.
Giving the display a final wipe. Adrian Kingsley-Hughes/ZDNET
Next, I close the alignment frame, making sure the tab is sticking out the bottom.
Everything is ready. Adrian Kingsley-Hughes/ZDNET
With the frame snapped shut, I give the tab a firm tug, and this action simultaneously pulls the dust eliminator strip across the display and applies the screen protector.
Giving the tab a firm pull. Adrian Kingsley-Hughes/ZDNET
Next, I press the spot marked on the frame to allow the screen protector to stick to the display.
Pressing on the button sticks the protector to the display. Adrian Kingsley-Hughes/ZDNET
Now, I open the frame and take a look at the job. I have a couple of small air bubbles, but I can deal with those using the applicator tool.
The final step involves eliminating any air bubbles. Adrian Kingsley-Hughes/ZDNET
The end result is perfect. The application process was so easy that I now can’t imagine using the older-style screen protectors, where I had to dab out dust manually and hope no more dust fell on the display before I applied the protector. If you’ve struggled to apply screen protectors in the past, I strongly recommend giving these a try.
Featured reviews


