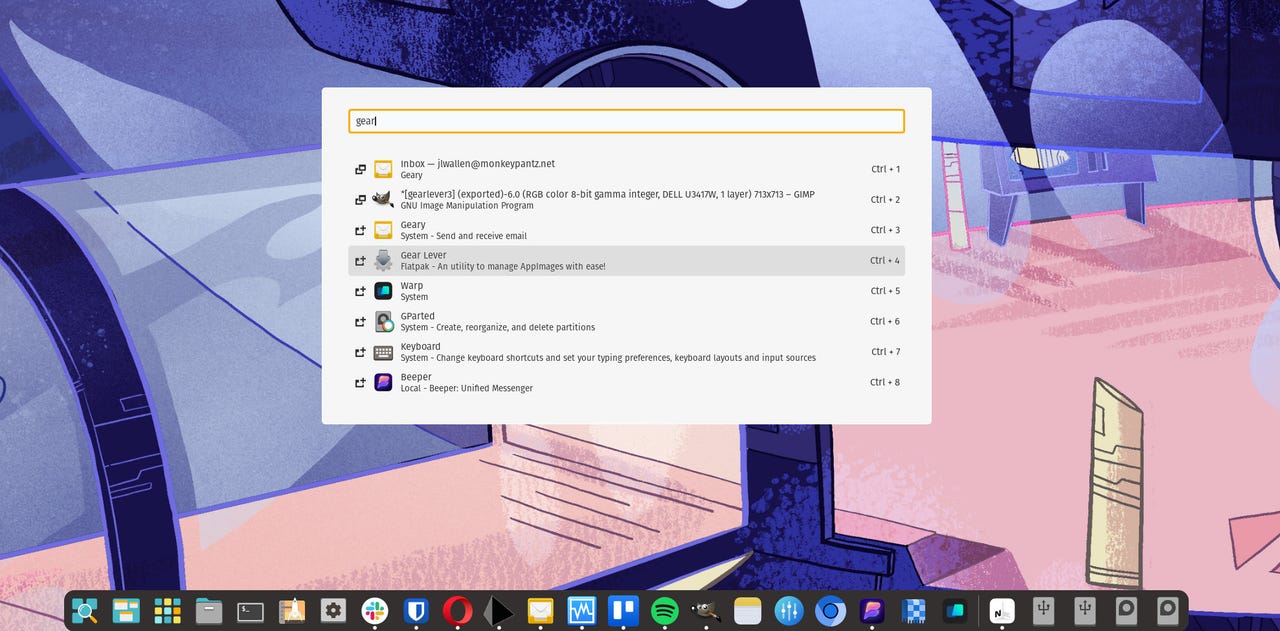
I use AppImages all the time on Linux. They make it possible for me to run applications on Linux that might not otherwise be available. I’ve already explained what AppImages are (and how to use them) but there was one key bit of information that I left out: how to integrate AppImages into your desktop menu.
Because an AppImage is a self-contained piece of software, it doesn’t require a typical installation. All you have to do is download the AppImage in question, give it executable permissions, and it’s ready to go.
Also: The best Linux laptops you can buy: Expert tested
Here’s the problem: Every time you want to run the application, you have to open your file manager, navigate to the folder housing the app, locate it, and double-click the icon to run the app.
That’s not exactly the most efficient way to use an application.
Fortunately, I’ve found a handy Linux tool that can integrate those AppImages into your desktop menu. The tool is called Gear Lever, and it does two things:
- Serves as a place to access all of your AppImages (without having to open your file manager).
- Integrates AppImages into your desktop menu.
Before I show you how to install and use Gear Lever, I want to point out a website that serves as a repository for AppImages, called AppImageHub, where you can search for and download several apps to run on Linux.
Now, back to Gear Lever.
Gear Lever is available as a Flatpak, which means it can be installed on any Linux distribution (so long as Flatpak is installed). Let’s get that app installed and see how it’s used.
How to integrate AppImages into your Linux desktop menu
Installing Gear Lever
What you’ll need: The only thing you’ll need is a Linux distribution with Flatpak installed. If Flatpak isn’t found on your distribution, you can install it from the standard repositories (such as with the command sudo apt-get install flatpak or sudo dnf install flatpak). That’s it. Let’s install this handy application.
The first thing to do is log into your Linux desktop and open a terminal window.
Also: The 5 GIMP features I depend on most when editing images (and how I use them)
From the terminal window, install Gear Lever with the command:
flatpak install flathub it.mijorus.gearlever
After the installation is completed, close all your applications (saving your work before you do) and log out. Once you log back in, you should find Gear Lever in your desktop menu. Start that app and you’re ready to add your first AppImage.
Adding an AppImage
Click the + button at the top left corner of the Gear Lever window. When prompted, locate and select the downloaded AppImage you want to add and then click Open.
You can add as many AppImages as you want with Gear Lever.
Screenshot by Jack Wallen/ZDNET
In the resulting window, you’ll be required to first verify the source of the app. To do that, click Unlock in the top right corner. Once you’ve done that, click Move to the app menu and then click the left-pointing arrow at the top left corner of the window.
If you trust the AppImage, click Unlock to continue.
Screenshot by Jack Wallen/ZDNET
Close Gear Lever and then open your desktop menu, where you should see an entry for the AppImage you just added.
Also: 6 features I’d like to see Linux borrow from MacOS
And that’s all there is to adding an AppImage to your desktop. With this taken care of, you can run those AppImages without having to first open your file manager, locate the AppImage file, and then double-click the icon.
Gear Lever should be considered a must for any Linux user who depends on AppImages.
Open Source


