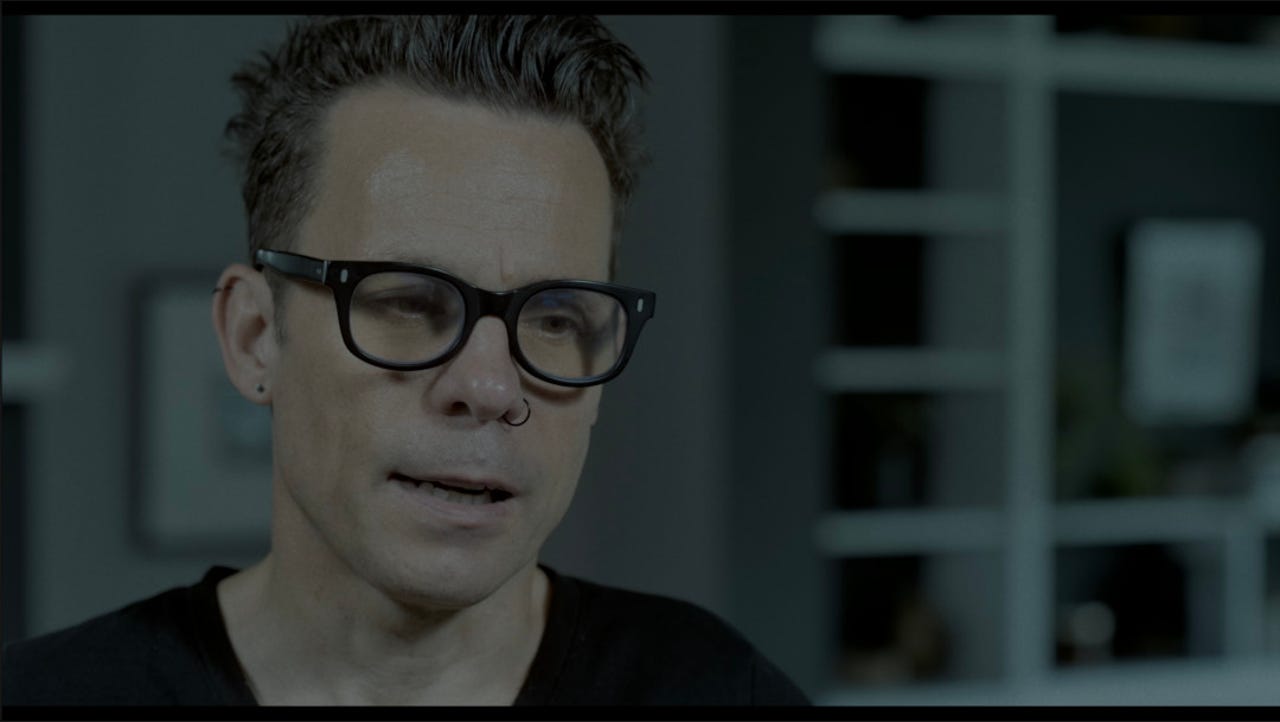
I’ve been working with video for some time now and it’s been an eye-opening learning experience. There are many moving parts when you produce film. If one part fails, the whole project could go down. To further complicate matters, every step of the way offers its unique challenges.
Once you’ve overcome those challenges and filmed everything, you must import your clips into a video editor. But there are a few simple things you can do to bring a cinematic life to the results — and I’m going to help you out.
Also: 5 easy ways to take better videos on Android
Keep in mind, however, that these tips are for people working in Final Cut Pro X, which means we don’t touch on all the things you need to do during filming to get a cinematic look, such as proper lighting and framing, the right camera settings, good sound, and more.
With that in mind, let’s examine a few “post-production” tips to help raise the bar on your videos.
1. Add film grain
The cinema look is driven by old-school technology. By that, I mean actual film. The difference between film and digital is that digital is too clean, whereas film has imperfections. The imperfection I’m talking about is called grain and it’s exactly what it sounds like. Adding film grain removes the clinical nature of digital clips and gives videos a bit of historical weight. You don’t notice the grain when sitting in front of a TV or cinema screen. But you’d immediately see the difference if you compare the same digital clips with and without grain.
Also: How to download YouTube videos for free, plus two other methods
However, you must be subtle when you add film grain. Too much film grain and the clip will look horrible. Not enough film grain and its purpose is lost. If you want to add film grain to a clip, select the clip, and then click the Effects button in the Inspector. Click Stylized and then double-click Film Grain. Once you’ve done that task, adjust the amount and style of grain in the Inspector. I suggest selecting Realistic Grain and starting at around 25% (see below).
The subtle art of adding film grain to video clips in Final Cut Pro.
Screenshot by Jack Wallen/ZDNET
2. LUTs and color grading
LUT stands for Look Up Table, a critical component for getting a stylized look for your clips. LUTs can be found everywhere on the internet — some for free and some for a price. You can find LUTs that emulate specific films or looks. You can subscribe to Motion Array and access some LUTs (along with millions of other assets).
Also: The 4 best free video editing apps: Free but powerful software
If you’d rather get the look you want by hand, it’s time to roll up your sleeves and dig into color grading. This can be a time-consuming process of changing colors and intensity of highlights and adjusting temperature, tint, hue, and mix. The nice thing about going down this route is you can get the exact look you want and know it’s unique. Also, ensure you save the look you create as a preset, so you can achieve that same look by selecting it in the Inspector.
Get used to these color wheels and settings to get the right look for your videos.
Screenshot by Jack Wallen/ZDNET
3. Don’t overuse transitions
When I started my journey with film, I used a lot of transitions. Why? Because they looked cool. The problem is that when you overuse transitions, they can make your video look too busy. That’s okay if it’s a choice and, if that’s the case, make sure you’re consistent with your transitions. Don’t just throw whatever random, cool transition you find into the clip. Sometimes the best transition is just a cut from one clip to another. Pay close attention to how transitions work in TV and movies and you’ll see they’re used as a stylized choice, such as a character warping through time and space.
4. Letterbox
One quick and easy way to add a cinema look to your videos is to add letterbox bars at the top and bottom. Although some people aren’t big fans of the letterbox format and prefer pan and scan, there is no denying that the letterbox look screams ‘cinema’. To add the Letterbox effect, choose your clip in the timeline, select Effects > Stylized in the Inspector, and double-click Letterbox. Once you add Letterbox to the clip, you can adjust the Aspect Ratio, Offset, Border Size, and Border Color.
Adding letterbox bars to the top and bottom of a clip can be effective.
Screenshot by Jack Wallen/ZDNET
5. Don’t blow out the highlights
You can quickly boost the look of your clips by not tweaking the highlights too high. I always tone down the highlights because when they’re too high, the clip will immediately look digital (because digital cameras have a lower dynamic range than cinema cameras). Blown-out highlights can have a pleasant effect in film, but the effect is too harsh in digital. To tone down your highlights, select the clip and then select the Color tool in the Inspector. Expand the Highlights section and adjust the Saturation, Brightness, and Mix until you achieve a nice cinema-like look.
Keep your highlights subtle and your videos will improve.
Screenshot by Jack Wallen/ZDNET
Remember that these tips will be used in a season-to-taste situation. Each clip will require different settings because of lighting, backdrops, subjects, etc. But making these simple adjustments means your videos look more film-like and enjoyable.


