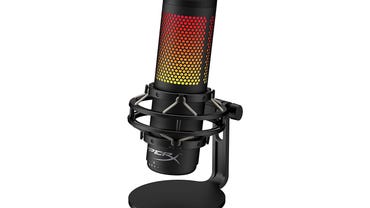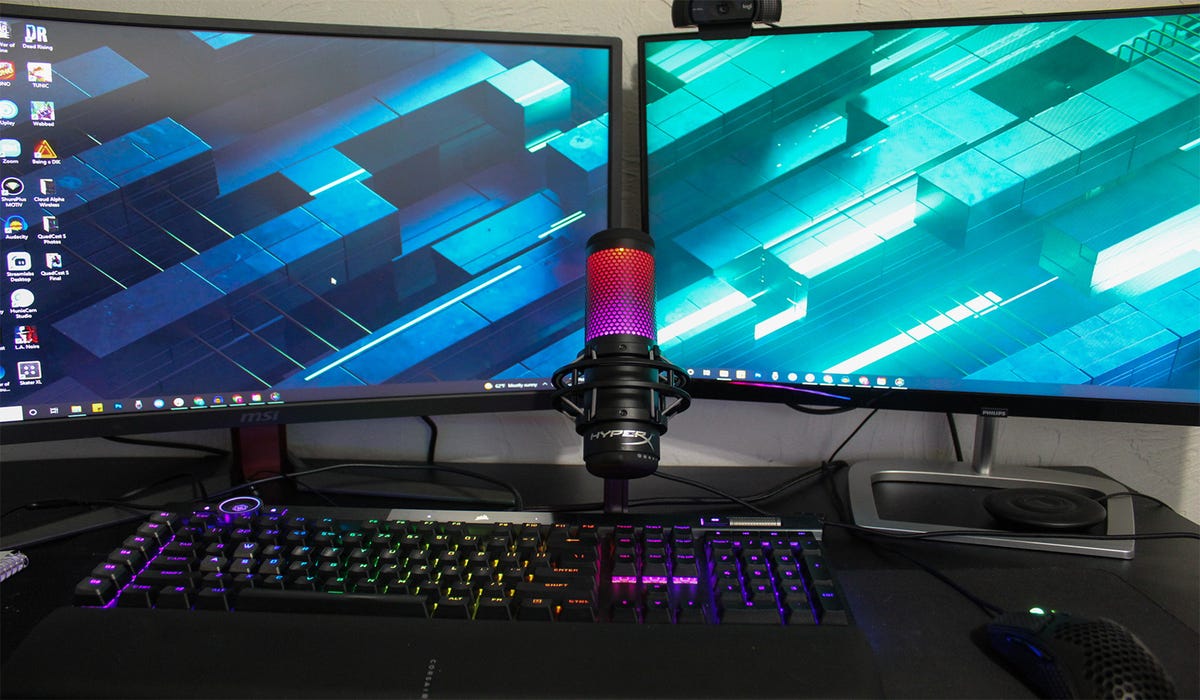
The first iteration of the QuadCast microphone was HyperX’s first foray into audio recording and live streaming, releasing back in 2019, and the updated QuadCast S dropped a little over a year later in September of 2020. The main difference between the two is that the QuadCast S is outfitted with customizable RGB lighting and color effects while the original had a solid red backlighting. With such a seemingly small difference, you may be asking if it’s worth the extra $20 to buy the QuadCast S. I can say with confidence that if you’re looking for an affordable way to improve your streaming or recording setup while also showing off your personal styel, the QuadCast S is a great option.
Like
- Built-in anti-vibration mount
- On-board controls
- Boom arm adapter included
- RGB lighting isn’t distracting
Don’t Like
- Very large and heavy
- Mute button is very sensitive
- USB-C port is awkwardly placed
Pricing
The QuadCast S retails for $159.99 (£144, AU$299, CA$229.99, €164), which puts it on par with other microphones favored by popular streamers and let’s players like the Razer Seiren V2 Pro ($149.99), the Blue Yeti ($129.99), and the Elgato Wave:3 ($149.99). As I mentioned earlier, the QuadCast S is just $20 more than the original version, with the cost increase attributed to the addition of customizable RGB lighting effects that you can change with the HyperX Ngenuity app; you can either sync effects and colors with other HyperX peripherals you may have or create custom effects to show off your personal style in your videos and live streams. The price is also justified by some top-notch quality of life features like an on-board gain dial, capacitive mute button, and built-in anti-vibration mount.
Setup
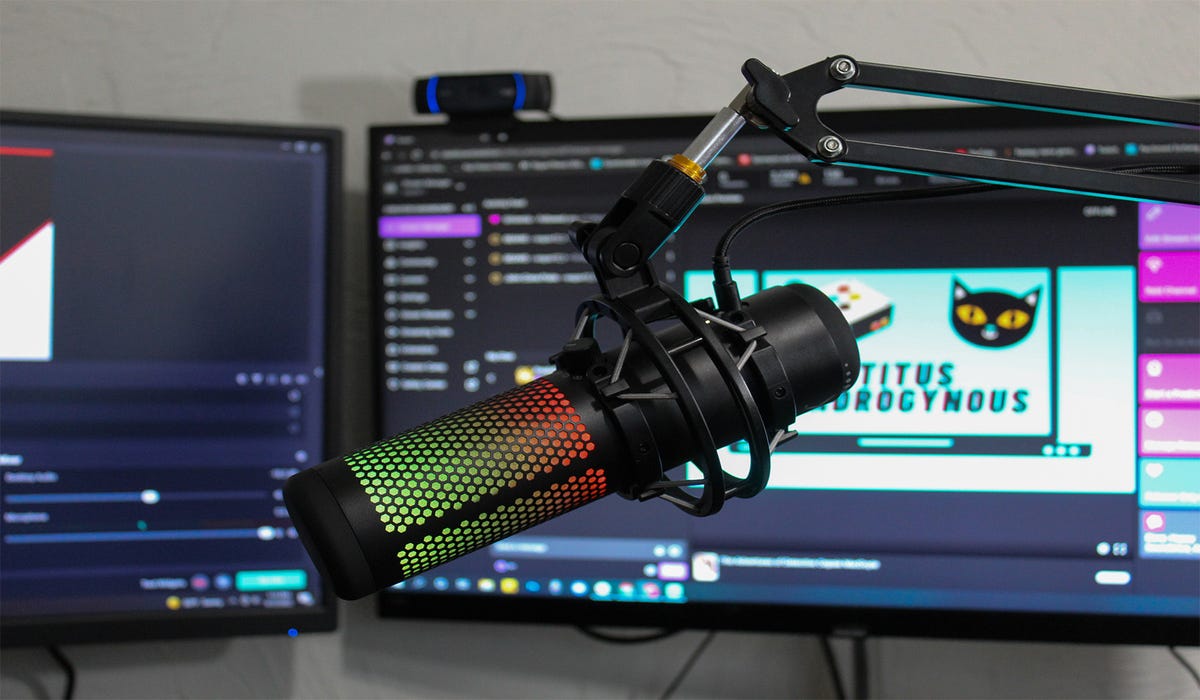
You connect the microphone to your computer via USB cable, which is perfect for anyone who is just starting out with recording and streaming or has very little experience with setting up audio equipment. Like most USB microphones, the QuadCast S is pretty well plug-and-play; meaning, once you connect it to your computer, you don’t have to follow any sort of installation application in order to use it. Once the drivers are installed, all you have to do is go through your computer’s audio settings and double-check that your input source is the QuadCast S and your output is your monitor or headset. It comes with a stand for on-desk placement as well as a boom arm adapter if you want more precise placement. The boom adapter is a bit finicky to set up initially, since it uses tiny, easy-to-lose plastic washers to help secure the microphone, but it still only takes a few moments to switch from the stand base. The USB-C and headphone ports are a bit awkwardly placed, sitting behind where the boom arm adapter or base connection pieces are positioned. They aren’t impossible to access, but they don’t allow for much wiggle room either. If HyperX had moved them down just a few millimeters to better clear the connection pieces and anti-vibration mount, it would make connecting cables and headsets much, much easier.
The on-board gain control and pattern selector make it quick and easy to create a recording setup that suits your needs: Bidirectional and Omnidirectional are best for podcasts with multiple hosts and guests while Stereo is more suited for music recording and Cardioid is better for single-person streaming. Each pickup pattern gives you slightly different final results because they utilize the three 14mm condenser capsules in different ways, and you can further refine your input and output with the HyperX Ngenuity app.
HyperX Ngenuity app
Taking a page from brands like Corsair and Razer, HyperX has developed their own desktop app for syncing or customizing RGB lighting effects as well as creating custom keybindings on keyboards, button layouts on mice, and adjusting your input and output results with your microphones. The app allows you to manually adjust the mic and headphone monitoring volume as well as toggle mic monitoring on and off. You can even see which polar pattern you have selected along with a brief explanation of what that pattern is best suited for. I do wish that you could change between patterns within the app as well as with the on-board dial, but doing so would probably be an engineering nightmare so I’m not terribly upset about it.
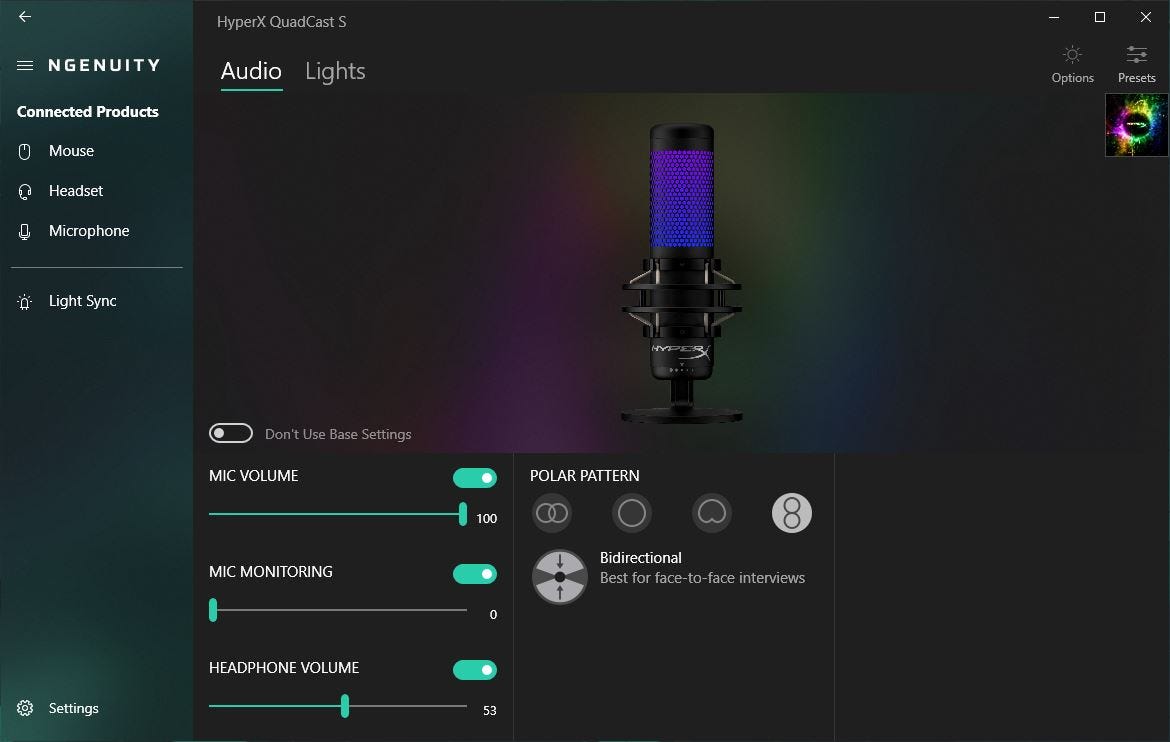
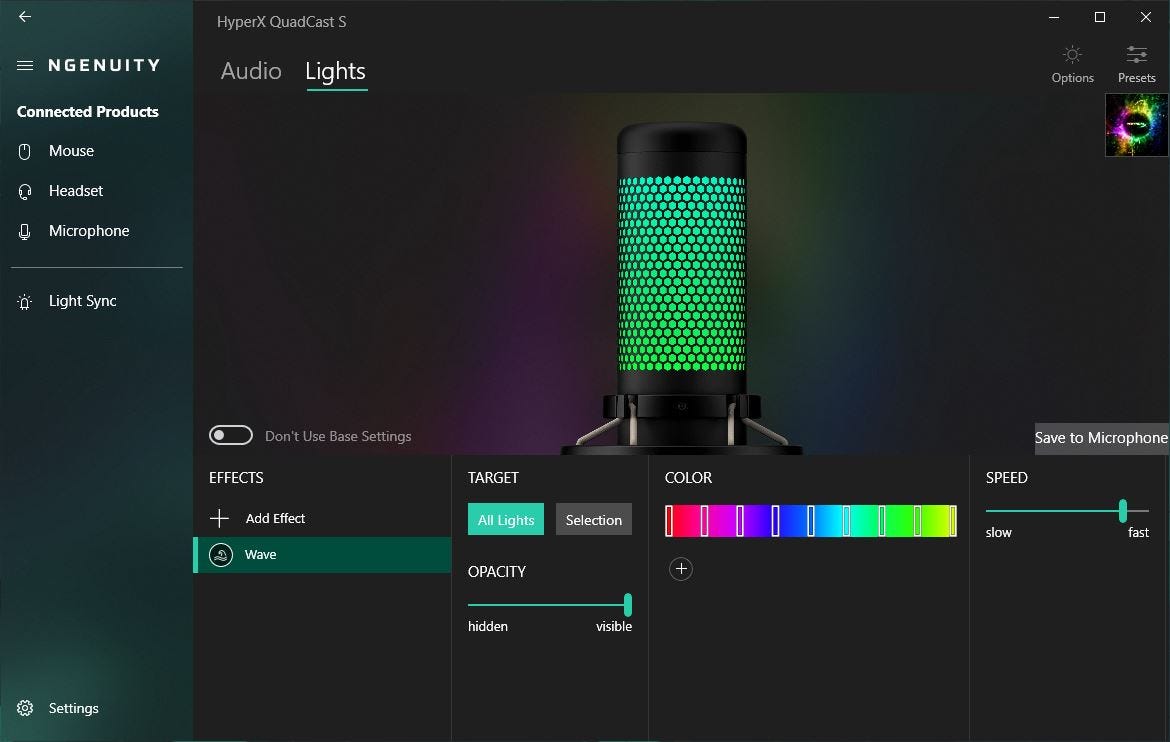
The Ngenuity app has a separate tab for the microphone that allows you to adjust the RGB lighting. You can choose between 5 different effects (Solid, Blink, Cycle, Lightning, and Wave), adjust the opacity, break the color and lights down by sections for a truly custom look, adjust color-change speed, and create custom colors. You can save your adjustments as preset profiles to quickly change between looks and audio settings to suit different applications; you can change between a colorful and refined profile for Twitch streams and a solid-color or no-lights profile with more moderate settings for Zoom meetings and video calls with just a few clicks. The app automatically checks for updates and downloads new firmware in the background, so you can always keep your QuadCast S and other HyperX peripherals in top working order.
Streaming and recording
I started streaming on Twitch back in 2017 as a way to diversify my now-defunct game reviews site, Steam Shovelers, and if there’s one thing I’ve learned in the five years I’ve been going live, it’s that content lives and dies by its audio quality. You could have the best overlays, play the hottest games, and have an excellent on-camera personality, but if your audio is awful, your audience won’t put up with it. I’ve gone through several different microphones looking for that perfect intersection between ease-of-use and professional-sounding audio, with some of the best being the Blue Yeti and Shure MV7 and the worst including the Turtle Beach Recon 500 headset mic and original Razer Seiren.
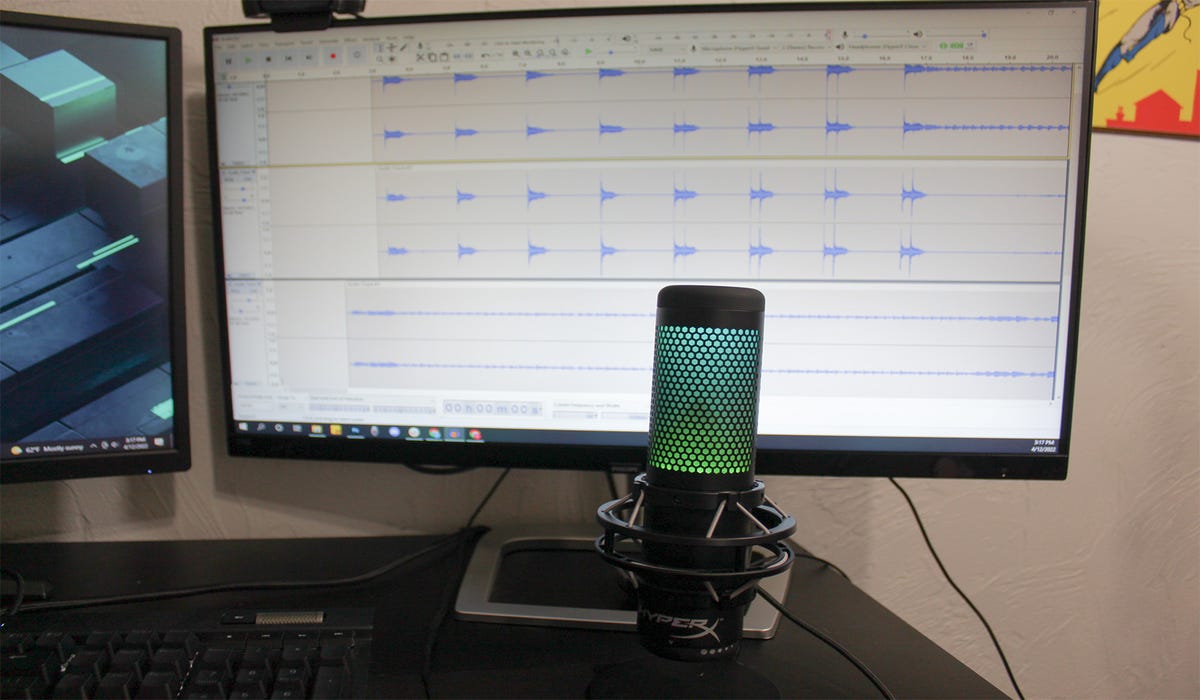
My office is on the smaller side (about 8×10 feet), and I used to have the walls and corners treated with acoustic foam panels and bass traps. But I had to remove it all because 1) they were staining my walls red and blue and 2) my cats thought they were perfect scratching pads and started shredding them. But even without acoustic treatments, the QuadCast S delivers clean, clear audio that’s just this side of echoey; though with the right filters, such as a noise gate or compression filter, you can eliminate the “ringing” back tones you often get with untreated spaces. I used the microphone in both Audacity as well as with Streamlabs OBS with satisfying results. With Streamlabs, I only needed to set up a noise gate to eliminate most unwanted background noise while in Audacity, I needed to treat my recording tracks with both noise reduction and compression filters to get rid of that annoying whitenoise “hiss” you get during dead air. The anti-vibration mount that’s built onto the microphone also does a great job of preventing any audio weirdness, since the elastic suspension cables and aluminum ring structure help keep the microphone centered, balanced, and undisturbed by minor bumps, shakes, and taps.
The entire top of the microphone is a touch-sensitive mute button which is perfect for quickly cutting your mic to have a side conversation during a stream or video call or to cut the mic for an ad break on streams. However, I found the mute button to be highly sensitive, cutting the mic when it was barely grazed by a hand, shirt, or shoulder. I had to change my audio set up several times in order to find the right position for the QuadCast S so that it wouldn’t accidentally get muted in the middle of a stream or recording session. I also had to spend quite a bit of time manually adjusting mic volume, gain, and pickup patterns to find the best combination for my setup. The QuadCast S has a decent pickup range, allowing you to lean back in your chair and still be heard clearly, and it did beautifully while recording both acoustic and electric guitar tracks while sitting halfway across the room. But certain polar patterns put small limitations on the pickup range. The Omnidirectional and Bidirectional settings were best for streaming because they did a better job of picking up my voice from further away while the Cardioid and Stereo settings required me to basically lean into the microphone the entire time. Which is far from comfortable during a 4+ hour stream, even in a chair built for ergonomics and long-term seating.
Conclusions
At $159.99, the HyperX QuadCast S is an affordable option for streaming and recording newcomers as well as a great choice for content creators with more experience looking to add a bit of flair to their setup. With the Ngenuity desktop app, you can customize lighting colors and effects, sync those effects with other HyperX peripherals, and monitor audio input and output for more professional-sounding streams and recordings. It comes with a dedicated base as well as an adapter for mounting on a boom arm for more placement options as well as on-board controls for changing polar patterns, muting the microphone, and adjusting gain. Premium features like a built-in anti-vibration mount and zero latency monitoring coupled with the super simple, plug-and-play USB connectivity make the QuadCast S a worthy investment for any content creator.


